
Skin Tag Removal at Home: Do’s & Don’ts
Share
Introduction
Skin tags are harmless but often annoying, especially when they appear on visible areas or spots that rub against clothing. Many people prefer removing them at home rather than spending on expensive clinical procedures. While DIY removal can be safe, it’s important to follow the right steps and avoid risky methods. Here’s a simple guide on the do’s and don’ts of skin tag removal at home.
✅ The Do’s
1. Keep the Area Clean
Always clean your skin before and after removal. This helps reduce the risk of infection and ensures proper healing.
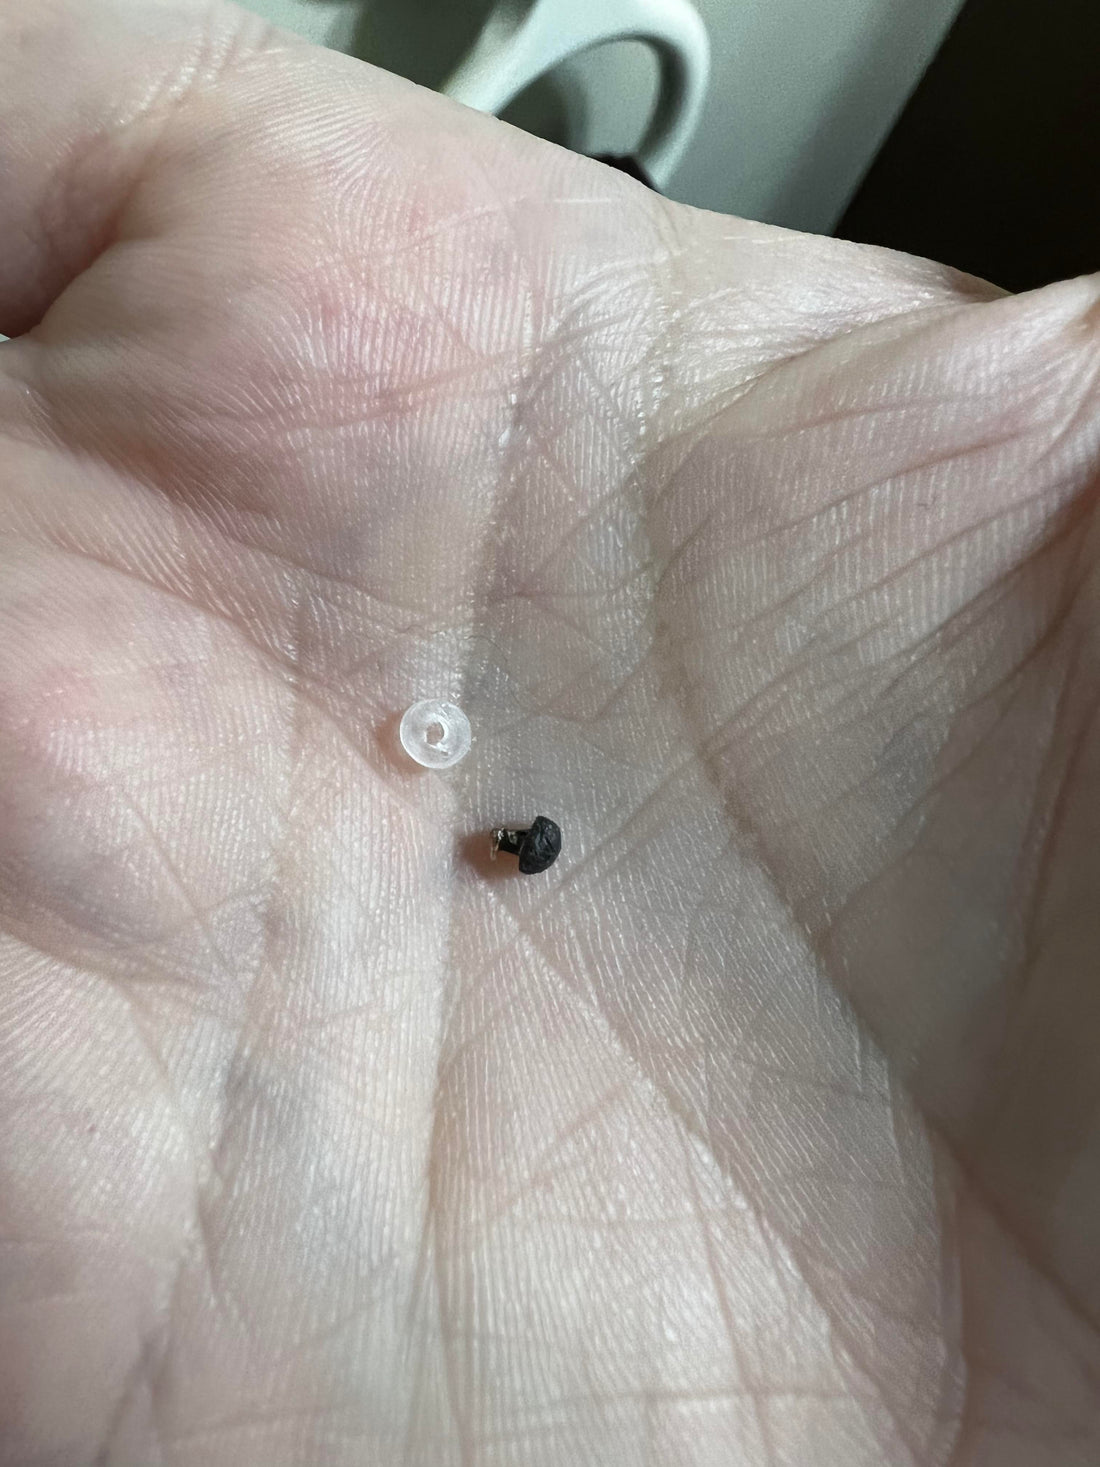
2. Use Proper Medical-Grade or Recommended Solutions
Not all home remedies are safe. Stick to dermatologist-recommended methods or proven devices like EraseTags™, which are designed for safe, painless removal.
3. Follow Instructions Carefully
Every product comes with specific usage guidelines. Make sure you follow them step by step. With tools like EraseTags™, setup and application are easy, but careful use ensures the best results.
❌ The Don’ts
1. Don’t Cut with Scissors or Blades
Cutting a skin tag yourself can cause bleeding, scarring, and infections. It’s unsafe and strongly discouraged.
2. Don’t Use Harsh Chemicals
Acids, burning agents, or random “home remedies” can damage healthy skin around the tag, leaving scars or causing irritation.
3. Don’t Ignore Signs of Infection
If the area becomes swollen, red, or painful, stop immediately and consult a doctor. Infection is rare with proper care, but ignoring warning signs can be risky.
Conclusion
At-home skin tag removal is safe when done the right way. By keeping the area clean, using trusted solutions, and avoiding dangerous shortcuts, you can achieve smooth and healthy skin without costly clinic visits. Tools like EraseTags™ make the process fast, painless, and scar-free — giving you professional-level results in the comfort of your home.